
 ไทย
ไทย
How to use
BALMUDA The Toaster
BALMUDA The Toaster brings out the best in any kind of bread. Simply follow the 4 steps below.
Place bread right-side-up and evenly spaced

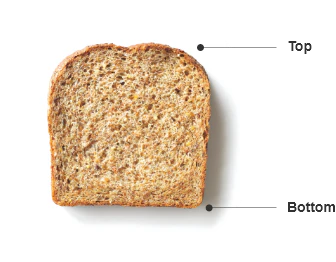
Every loaf of bread has a top and a bottom. For best results, place each slice with the top facing out. For “mountain-shaped” bread, the “peak” is the top. For square and other bread, check which side is on top when the bread is on the shelf. If you’re toasting a single slice, place it in the center. If more than one, spread them out evenly.
Clean regularly for best results
If your toaster has breadcrumbs in it from previous use, they will absorb energy and prevent your bread from being properly toasted. Be sure to clean your toaster regularly for a reliably delicious toasted finish.
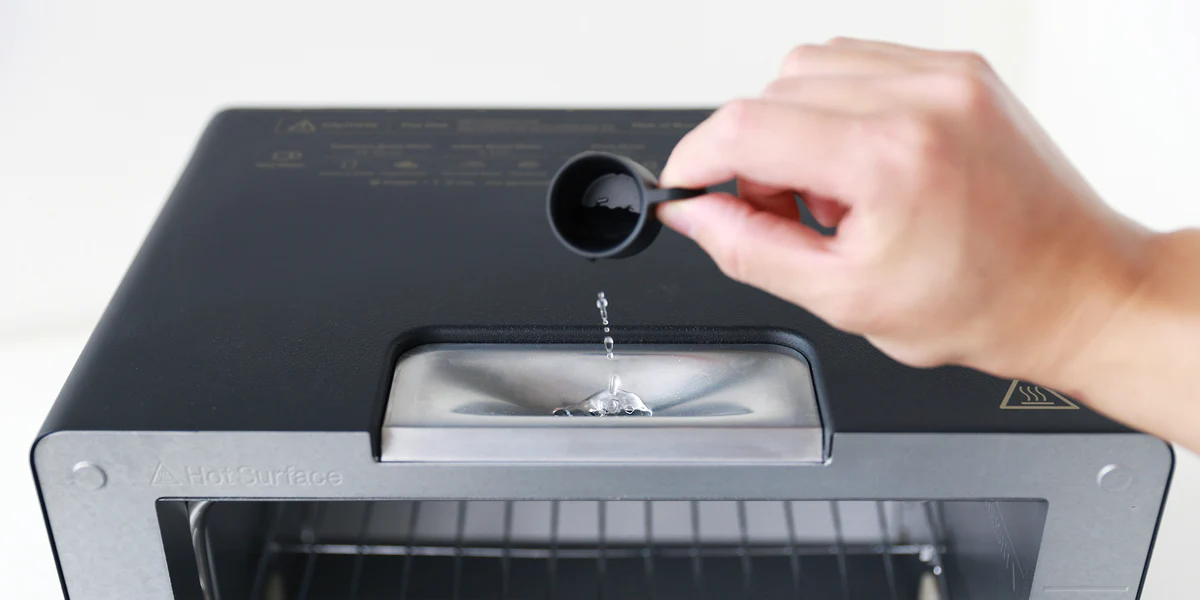
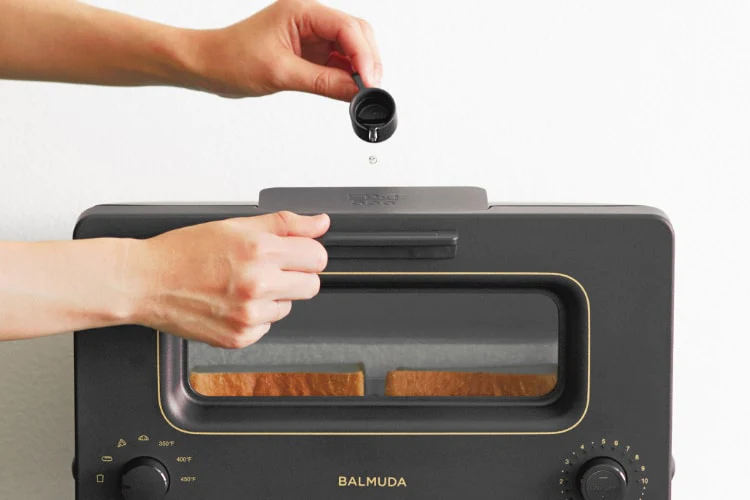
Use the same amount of water every time
Whatever kind of bread you’re toasting, and however many slices you’re toasting at once, always add the same 5cc of water.
Don't add water in Classic Mode
In Classic Mode, steam isn’t used, so water isn’t needed. Adding it can cause buildup in the boiler and lead to a malfunction.
STEP 3
Select mode
Each mode uses a different heating method.
Read on to learn which mode is right for which kind of bread.
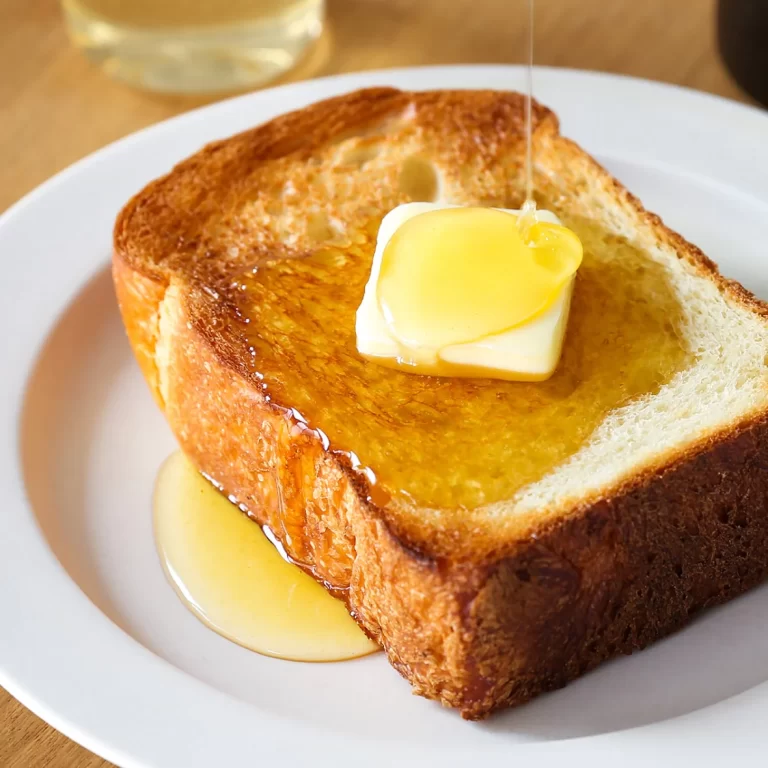
Toast Mode
This mode is grill until golden brown. It delivers a delicious contrast between a crisp exterior and a moist interior. In addition to toasting, you can also use it to crisp up bagels and English muffins sliced in half horizontally.
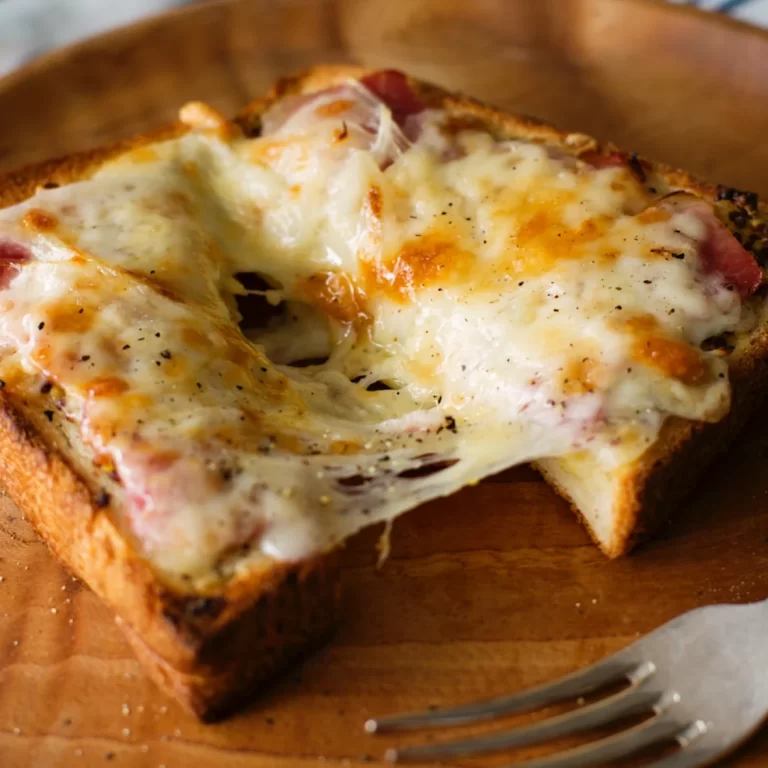
Cheese Toast Mode
This high-temperature toasting mode, it's perfect for cheese toast and other menus with uncooked ingredients on top. It can also be used on pizza toast or as a menu to heat vegetables and fruits.

Baguette Mode
Warm the inside thoroughly without browning the surface. Warm Baguette, rolls, bean bun, and muffins until they're fluffy and freshly baked.
Croissant Mode
Designed to emulate a baker’s oven, this mode reproduces the flavor, texture, and moisture that could once only be experienced with freshly baked bread. Buttery croissants become warm and crisp without burning. It goes well with Danishes and scones when you want them to be crispy.

Classic Mode 170 / 200 / 250°C
Utilizing heat without steam, this mode offers three different temperature settings (170°C / 200°C / 250°C) just like a traditional oven. It is a great way to prepare various smaller dishes such as gratin, cookies, or even frozen foods that can be oven-cooked.
List of baking times
Experiment With Your Favorite Breads
Toast ModeGrill until golden brown. In addition to toasting, you can also use it to crisp up bagels and English muffins sliced in half horizontally. |
|
| White bread (room temperature) | 2.5~3.5 min |
| White bread (refrigerated) | 3.5~4.5 min |
| White bread square (room temperature) | 2.5~3.5 min |
| White bread square (refrigerated) | 3.5~4.5 min |
| Bagels (room temperature) | 4~5 min |
| Bagels (refrigerated) | 6~8 min |
| English Muffin (room temperature) | 3~4 min |
| English Muffin (refrigerated) | 3~4 min |
Cheese Toast ModeSince the heat is strong, it’s perfect for cheese toast and other menus with uncooked ingredients on top. |
|
| Cheese toast (room temperature) | 3.5~4.5 min |
| Cheese toast (refrigerated) | 4.5~6 min |
| Pizza (room temperature) | 3.5~4.5 min |
| Pizza (refrigerated) | 4.5~6 min |
Baguette ModeWarm the inside thoroughly without browning the surface. Warm Baguette, rolls, Bean bun, and muffins until they’re fluffy and freshly baked. |
|
| Baguette (room temperature) | 3~4 min |
| Baguette (refrigerated) | 5~8 min |
| Bread roll (room temperature) | 3~5 min |
| Baguette (refrigerated) | 6~8 min |
| French Bread (room temperature) | 2~4 min |
| French Bread (refrigerated) | 4~6 min |
| Bean Bun (room temperature) | 3~4 min |
| Bean Bun (refrigerated) | 6~8 min |
Croissant ModeWarm the inside thoroughly and make the surface crispy. It goes well with Danishes and scones when you want them to be crispy. |
|
| Croissant (room temperature) | 3~4 min |
| Croissant (refrigerated) | 5~7 min |
| Apple Pie/ Burger bun/ Brownies/ Cinnamon roll/ Danish/ Donut/ Hot dog bun/ Pain au chocolat/ Pita bread/ Scone/ Tortilla | 3~5 min |
Classic Mode170/200/250°C (no water required) |
|
| Rice cake | 250°C 5~7 min |
| Gratin (room temperature) | 200°C 10~15 min |
| Gratin (refrigerated) | 250°C 5~7 min |
Note:
* Do not put bread higher than 5.5 cm. in the toaster, as it could burn or char if too close to the heating tube.
* With toppings or ingredients that could drip or fail, be sure to use a heatproof tray or dish.
Reheating to bring out the best in bread and pastries
Wait 30 seconds after heating the pastry using Croissant Mode. The butter will settle and the pastry will regain its crispiness..
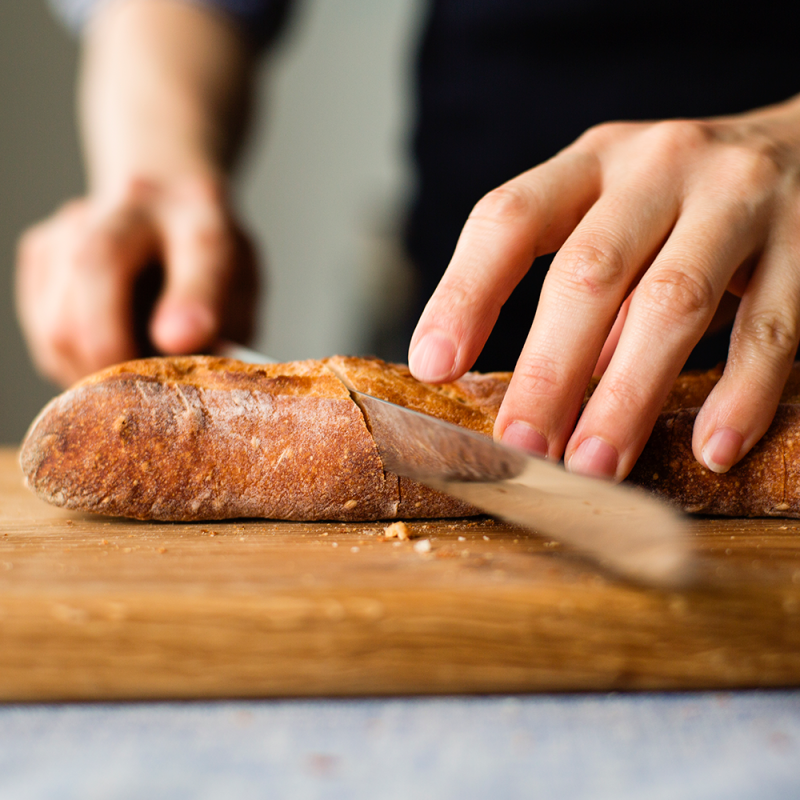
Cutting baguettes differently gives different toasting results

01 Block cut: Fluffy on the inside, crisp on the outside

02 Sliced lengthwise: Crisp and crunchy on the sliced surface

03 Sliced crosswise: Crispy inside and out

No extra time needed for extra slices or thickness
Even if you are toasting thicker bread or more slices, you don’t need to add extra time. Check the recommended times and experiment to find the timer setting that gives the results you prefer.
Why isn’t more time needed for thicker bread?
The changing temperature inside the toaster is precisely measured and automatically adjusted by switching the heater on and off. This precision lets the toaster give any kind of bread the same toasted finish in the same amount of time, from thicker slices that are hard to warm up to thinner slices that warm up quickly.
Timer tips for toasting frozen bread
Put slices in the toaster frozen and add an extra 1 or 2 minutes to the timer.
* Freezing bread preserves its flavor better than refrigerating it. We recommend freezing any bread you don’t eat on the day it was baked.
MAINTENANCE
Cleaning Instructions
Clean the crumb catcher after every use, and clean the other parts
when build-up becomes noticeable. The crumb catcher, toasting
rack, and boiler cover are removable. * Product shown here is US model.
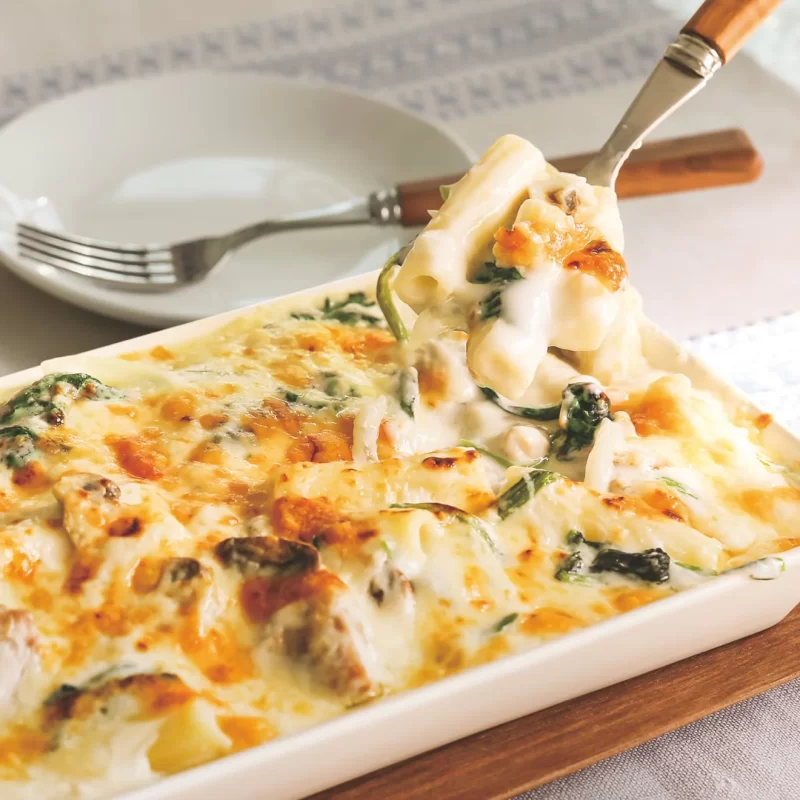
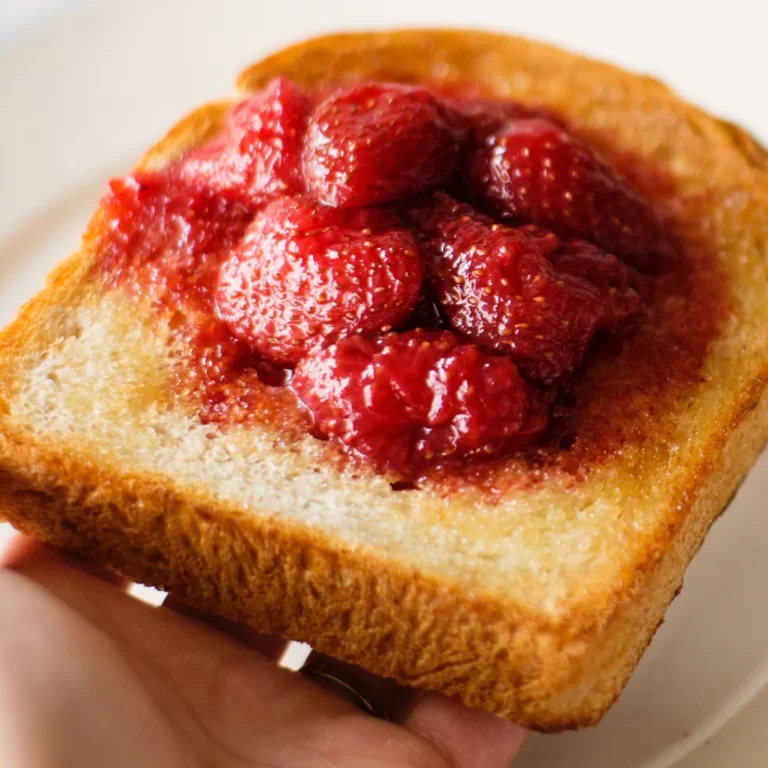
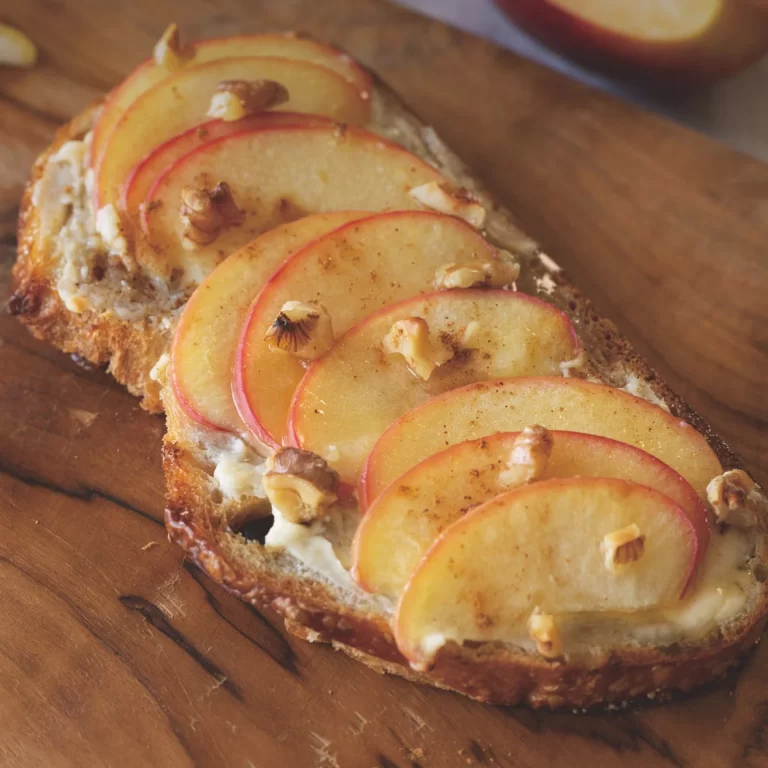
Recipes

Sign me up to receive news, exclusive offers, recipes and more from BALMUDA USA.